Schedule a Show
Who this is for: BOOKER or ADMIN. Players and viewers can watch shows run, but only bookers put them on the calendar.
A booker's guide to putting a show on the calendar and building its card — from an empty date to a card ready to run.
Before you start: you need at least one show type and one arena set up by your admin. If those are missing, see Admin Getting Started.
Step 1 — Create the show
Open Show List from the navigation. At the top of the page is a creation row — fill it in and click Create:
- Name — anything memorable ("Collision #14"). A show with the same name and date already on the calendar is rejected.
- Show Type — the kind of event. Weekly TV builds momentum; premium live events (PLEs) are the big ones where titles change and tournaments pay off.
- Season — optional. Shows grouped into a season feed season summaries and awards.
- Template — optional. A template pre-plans the card for you and can carry a gender division. Shows with a PLE template render highlighted in the list.
- League — optional. Assign the show to a league to have its matches count toward league standings.
- Universe — optional. Keeps the show inside one universe's continuity when you run several.
- Arena — where. Capacity feeds attendance and fan calculations.
- Show Date — when it runs on the calendar. Leave empty to schedule later.
The show appears in the grid immediately as Scheduled. Click its name to open the detail view.
Step 2 — Build the card
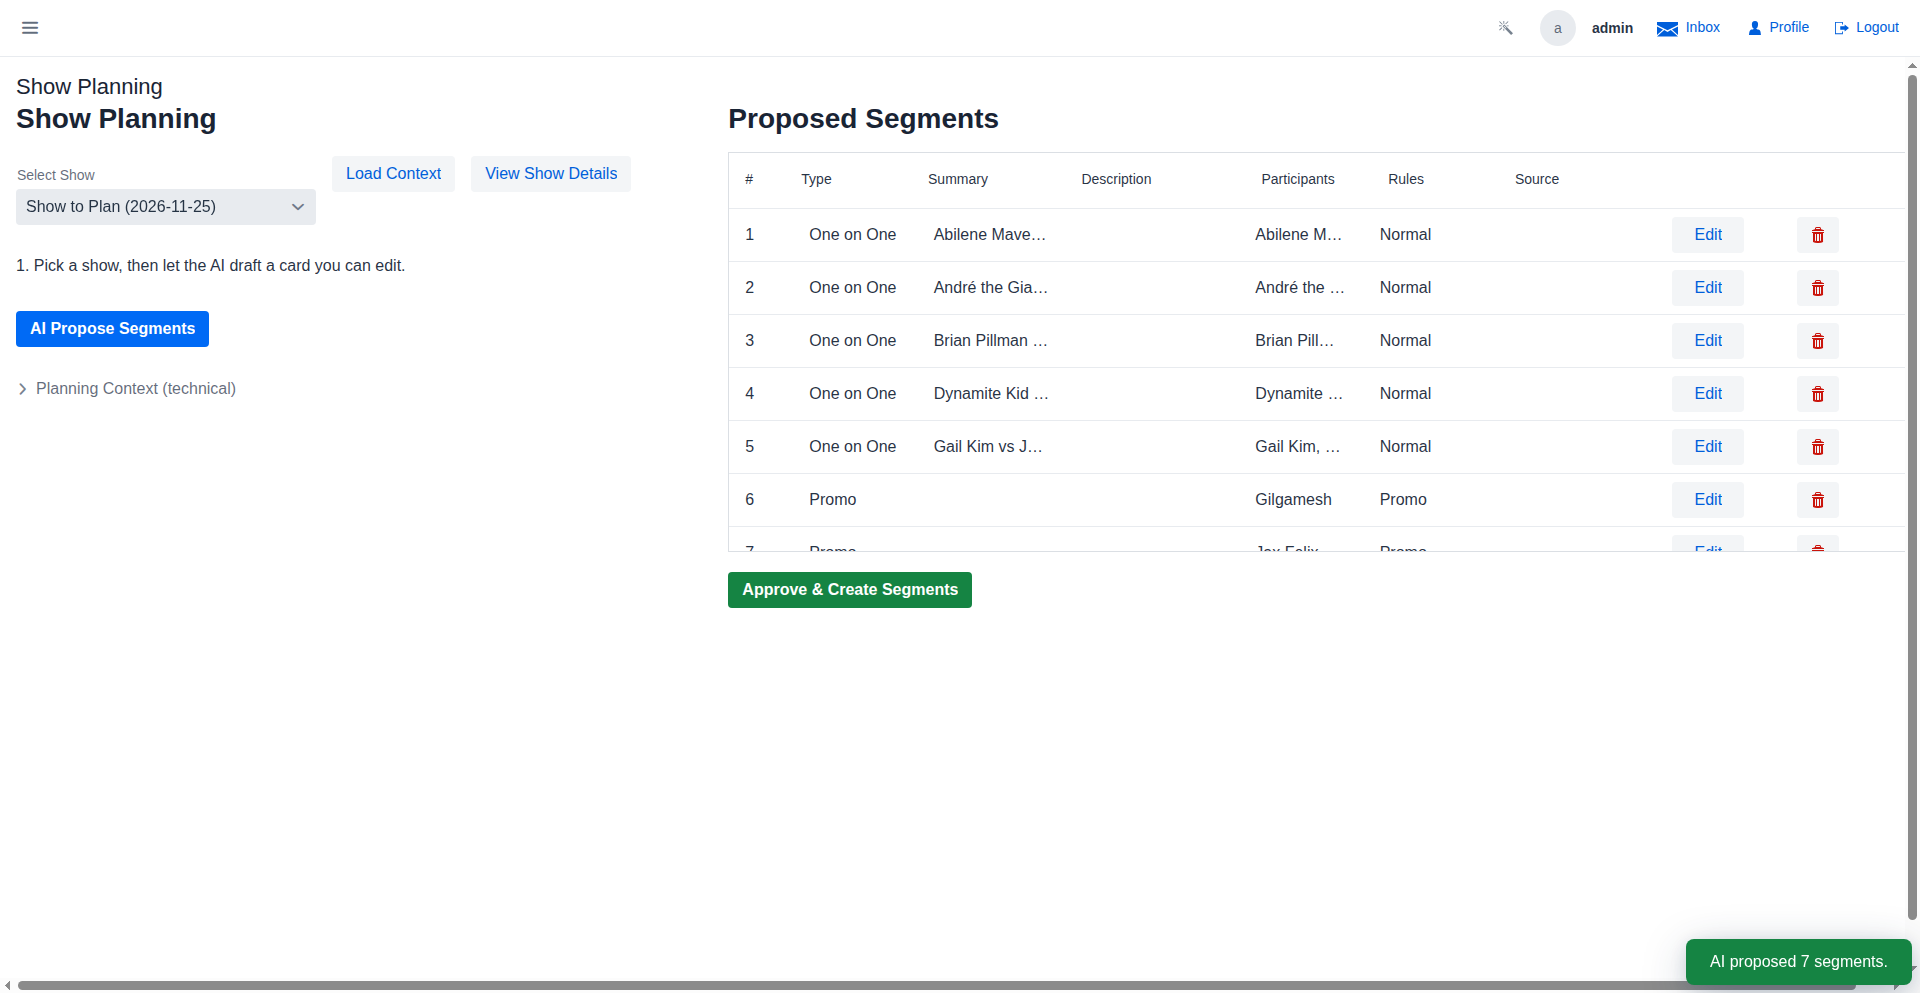
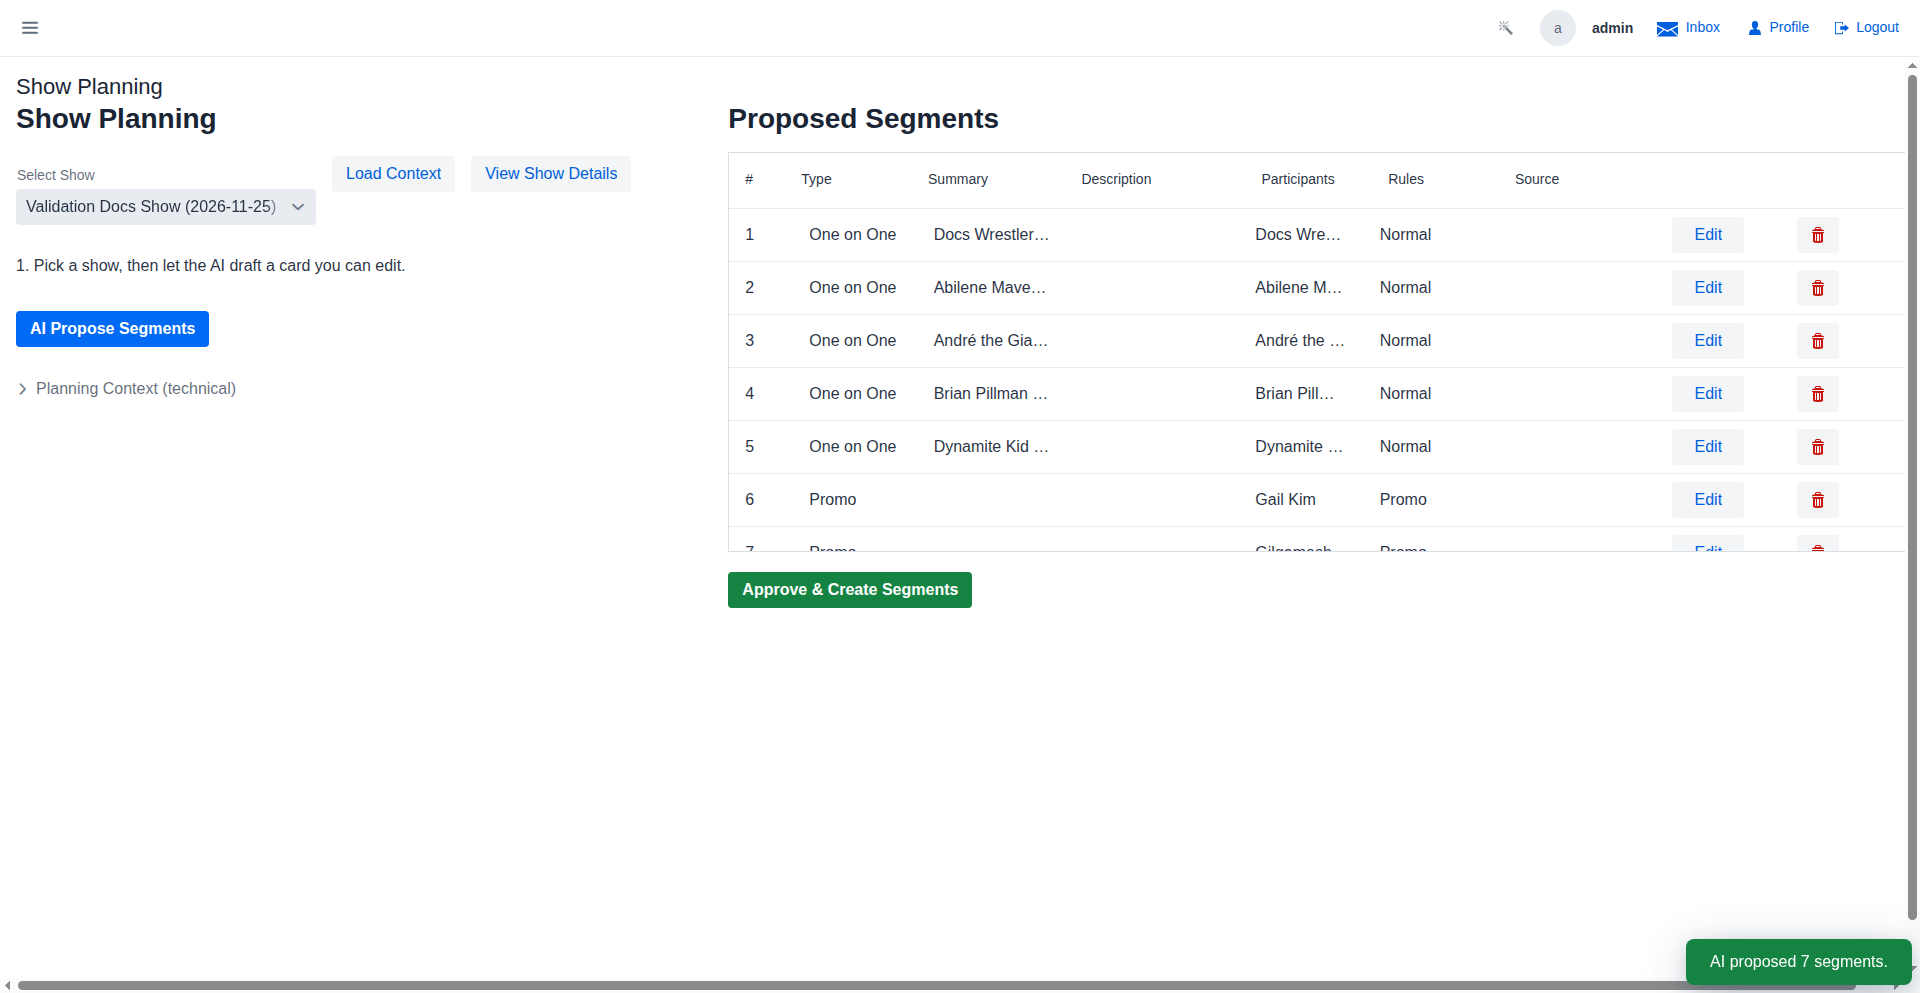
A show is an ordered list of segments. On the show's detail page, use Add Segment for each one:
- Pick a segment type — a match (singles, tag, triple threat — the list grows with your enabled expansions) or a non-wrestling segment like a promo.
- Set the participants — pick the wrestlers or teams. Filters help you find them fast: Alignment Filter (face/heel) and Gender Filter (pre-filled from the show template's gender division). Allow intergender participants follows your game settings when you want mixed matches.
- Add rules (optional) — stipulations like TLC or No DQ. The dialog warns you when a hot rivalry deserves a stipulation and none is set.
- Attach a championship (optional) — putting a title on the line means the winner leaves with (or keeps) the belt, and champions who retain gain fans.
- Referee (optional) — assign an NPC referee for flavor.
New segments land as Pending. Reorder them with Save Order — the card runs top to bottom.
While you build, watch for the card-validation helpers: a wrestler booked twice, a stipulation that doesn't fit the participants, or a card without a proper main event are all flagged before showtime.
Step 3 — Designate the main event
The last non-promo segment on the card is the night's headline. Main-event winners earn elevated fan gains, and the AI narration treats the segment as the climax — so put your hottest rivalry there.
Step 4 — Run the show
When the card is final, click Adjudicate Fans on the show detail page. The game adjudicates each pending segment in order:
- Match outcomes roll from wrestler stats, health, stamina, and momentum — the better-prepared wrestler usually wins, but upsets happen.
- If you left winners unassigned, the rolls decide; you can also pre-set winners when adding a segment.
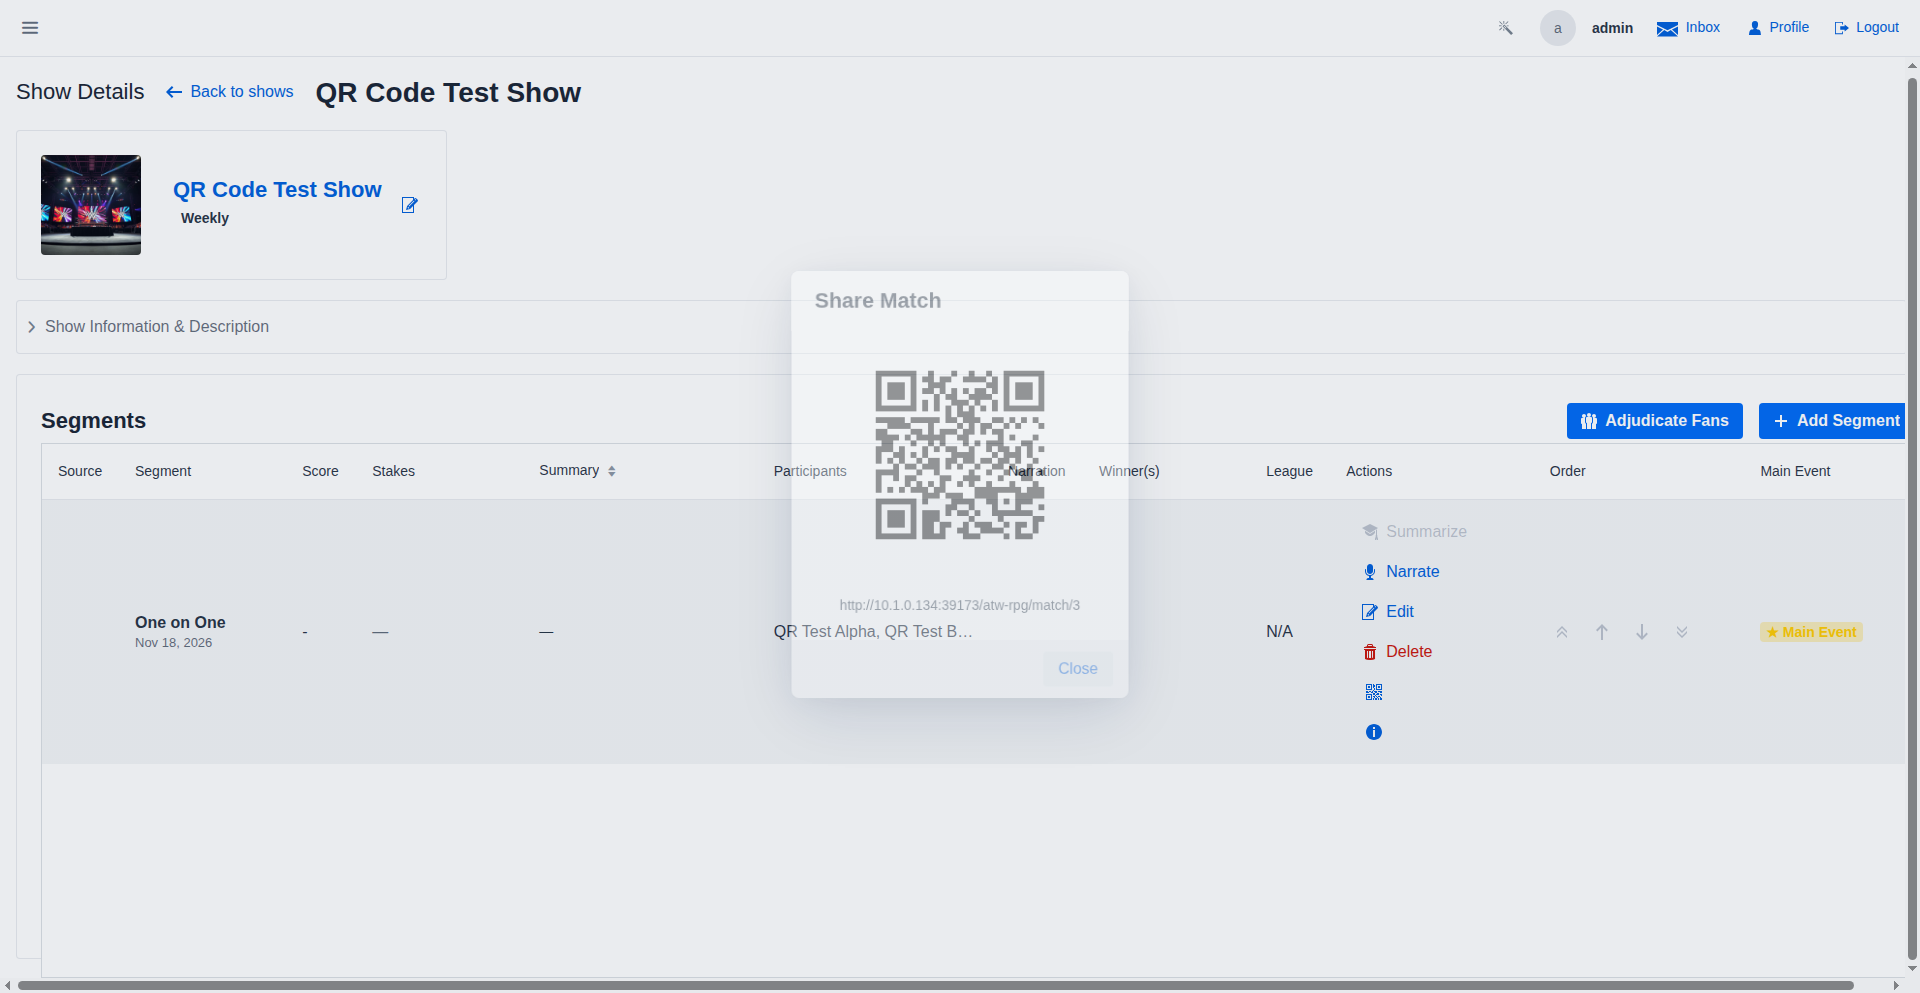
- With an AI provider configured, every segment gets live narration and commentary you can share (shows expose a QR code link for viewers).
- Fans, rankings, injuries, and notifications update as segments complete.
Step 5 — After the bell
Once the show is final:
- Results are visible to players and viewers on the show card.
- Fan reactions land on winners and losers; a decisive win over a popular opponent moves the needle most.
- Rivalries heat up or cool down based on who fought whom and how.
- Notifications tell wrestlers and title holders what changed.
Where to go next
- Manage Rivalries — the heat system the Add Segment suggestions come from.
- Report Match Results — when your league assigns matches to players.
- Configure Tournaments — brackets that pay off on a show like this one.
- Run a Season — the yearly frame around the weekly grind.
- The auto-generated Booker Overview documents every booker screen.